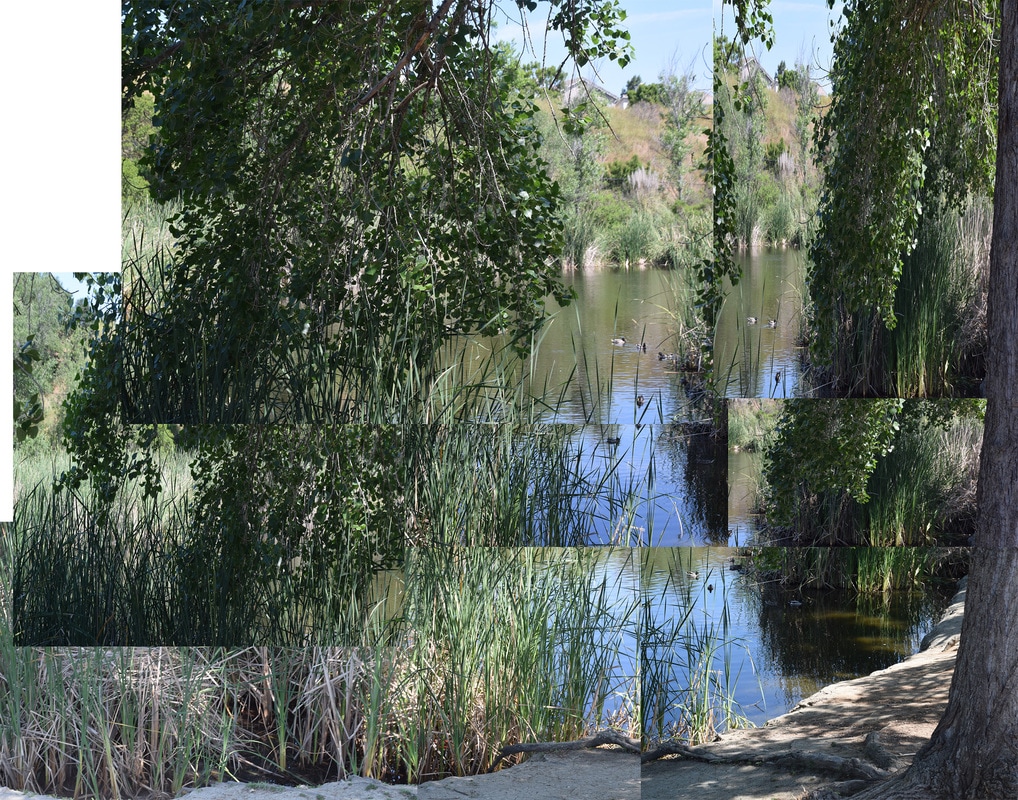
 rule of thirds 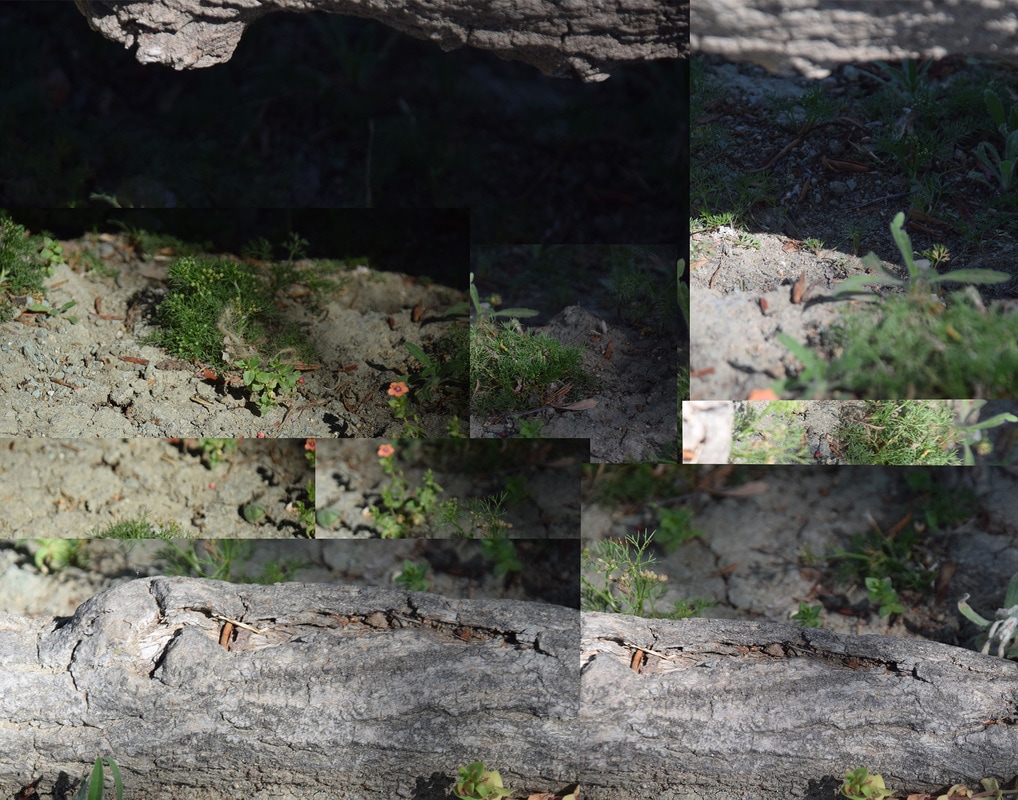 framing David Hockney was born July 9, 1937 in Bradford, UK. He was an English painter, draughtsman, print maker, stage designer and photographer, and is considered to be the most influential british artist of the 20th century. He's recognized for his homosexual abstract paintings, one called "We Two Boys Clinging Together", made in 1961. At the end of 1963 he moved to California where he continued to paint. Later, in the mid 1970s Hockney began to experiment with photography. He then began to make photo collages with Polaroids and snapshot prints in a grid formation.
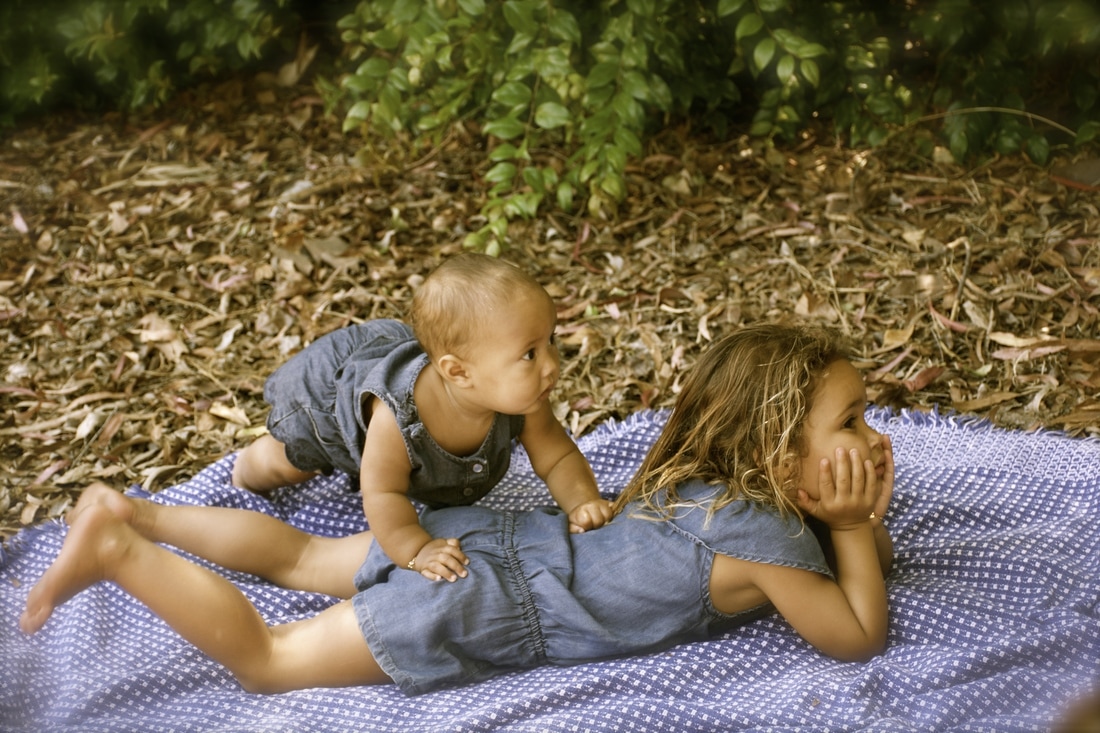
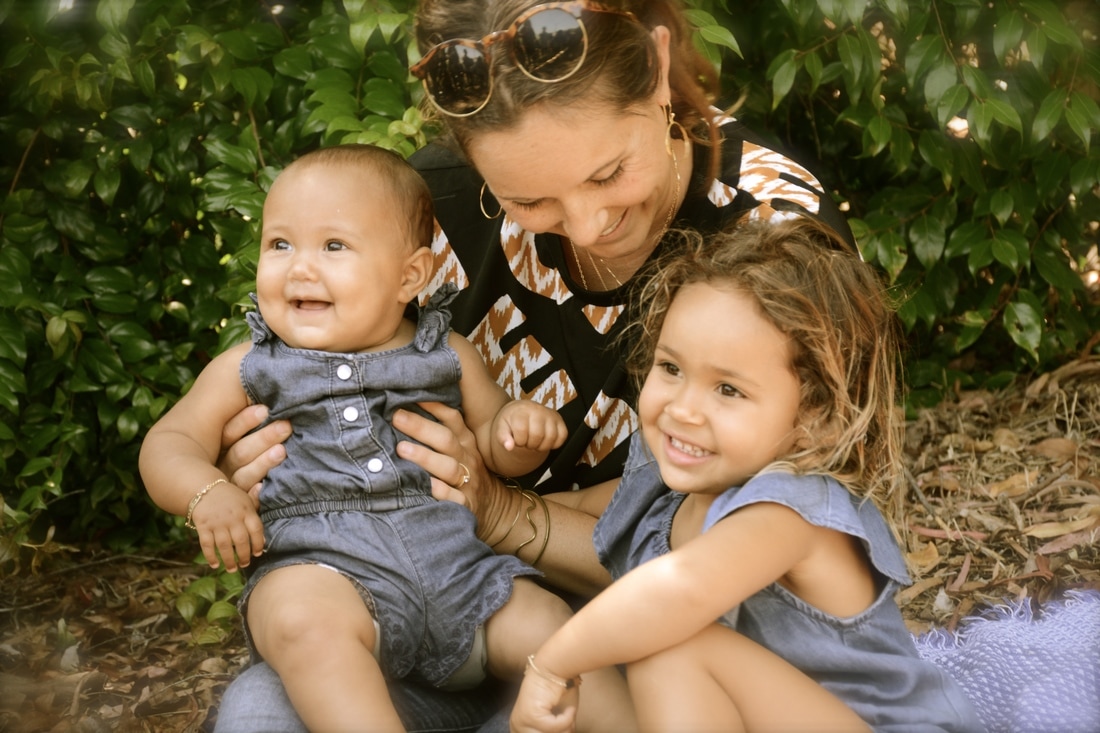
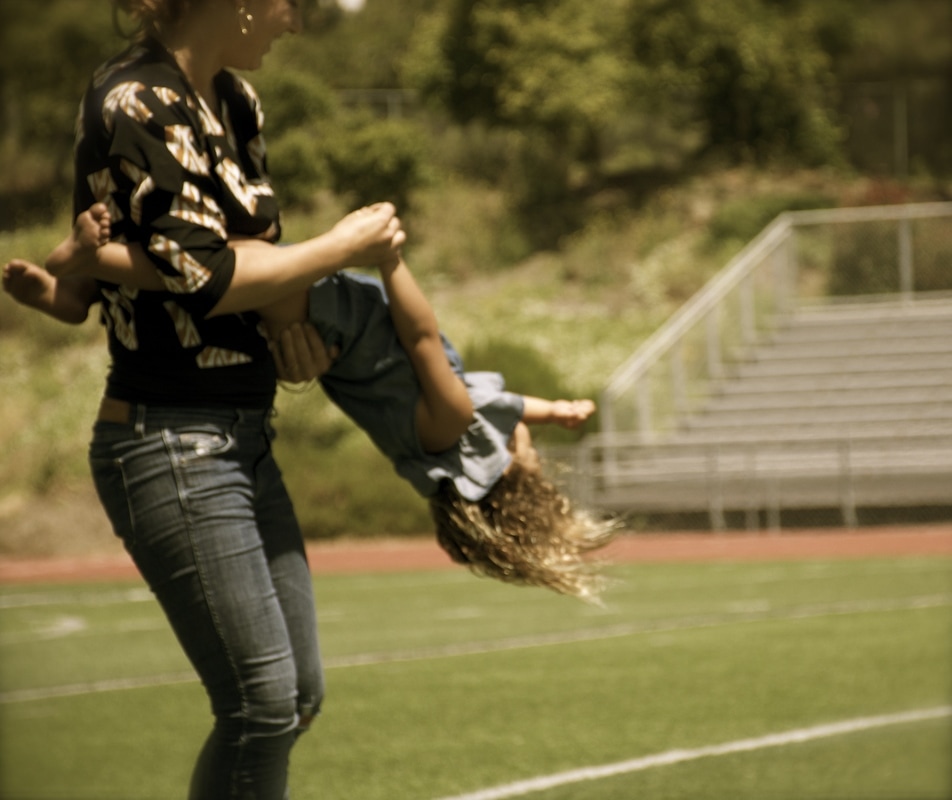
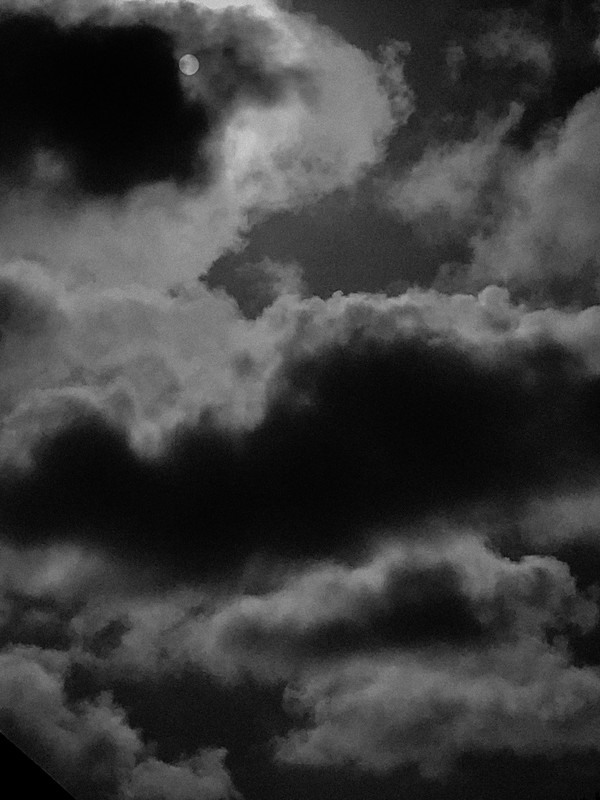
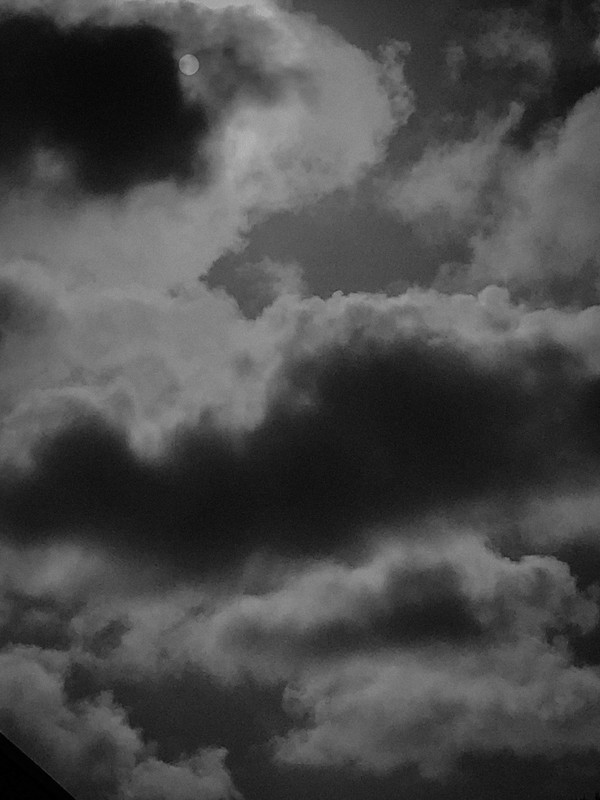
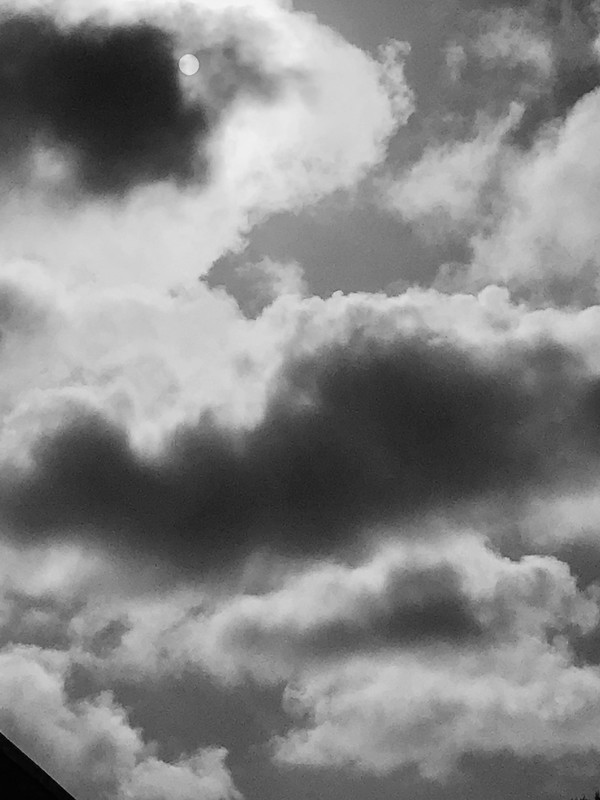
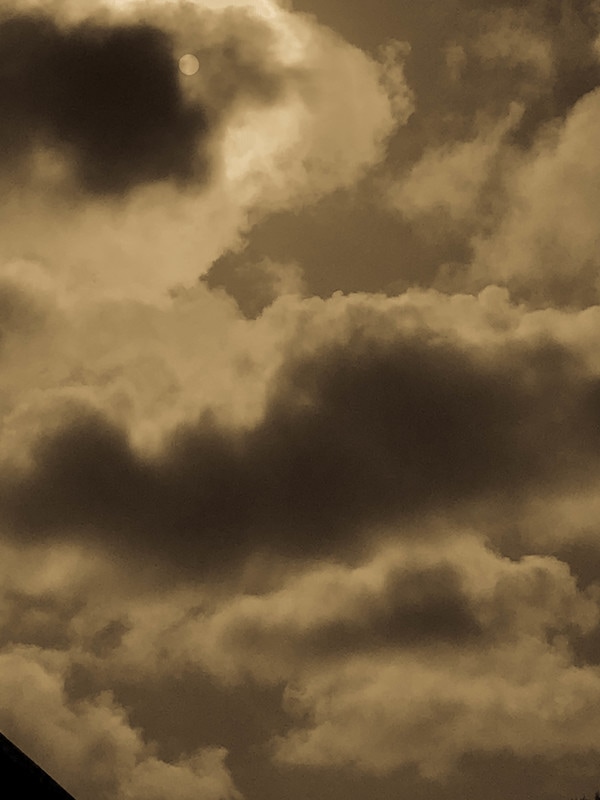
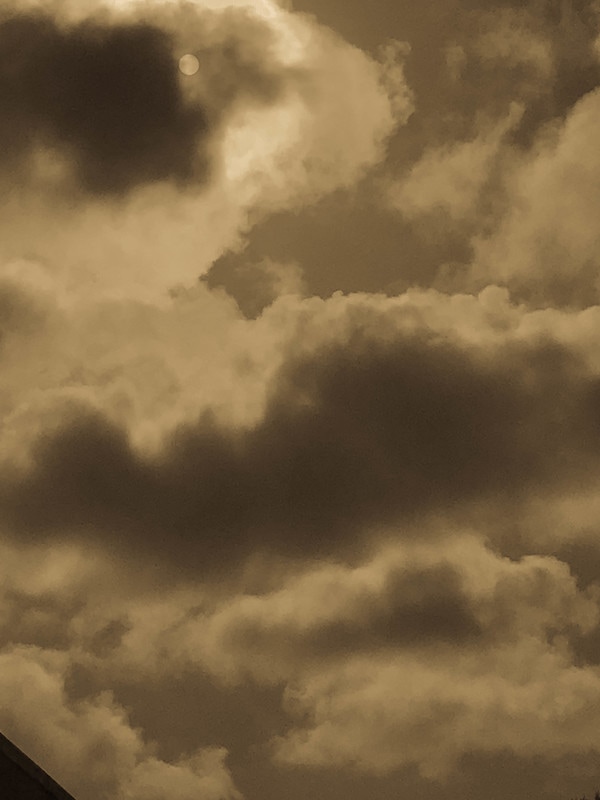
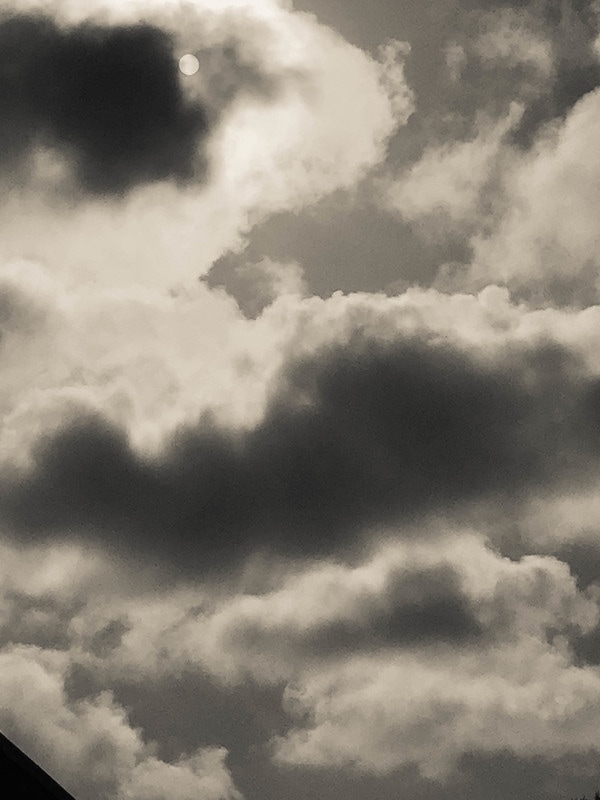
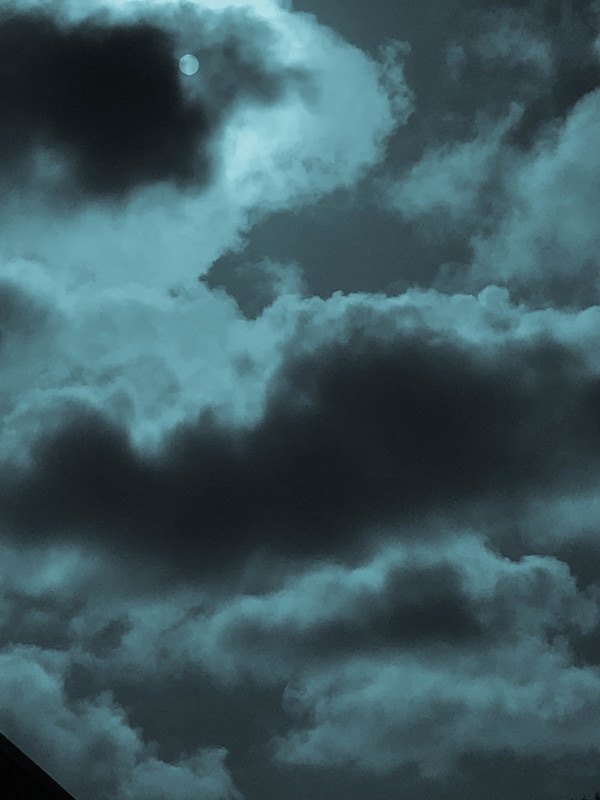
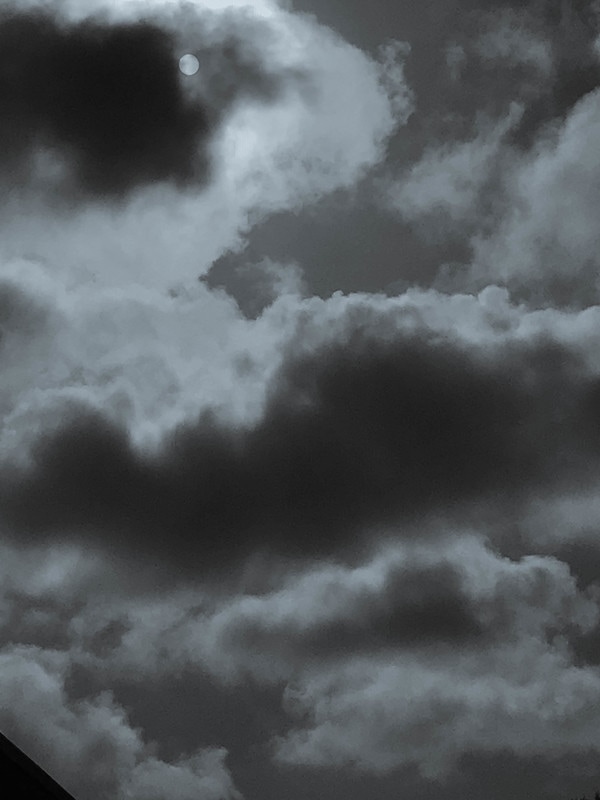
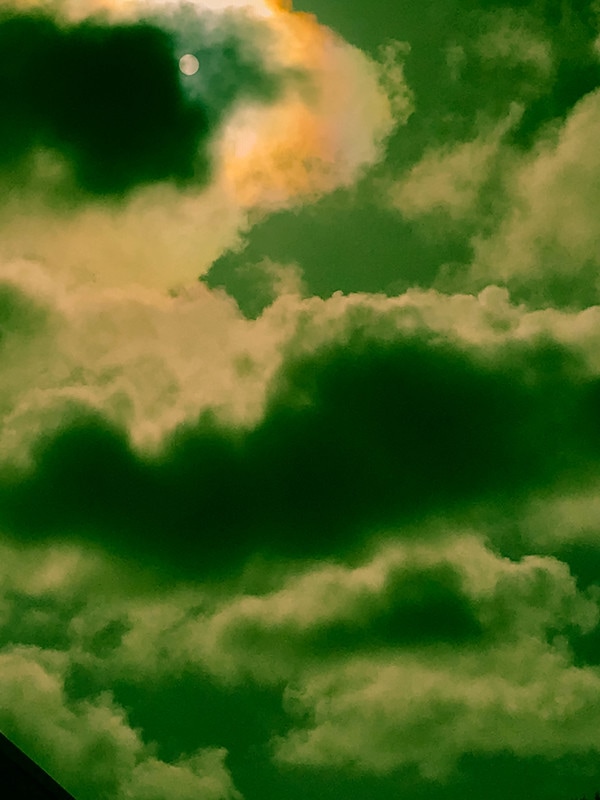
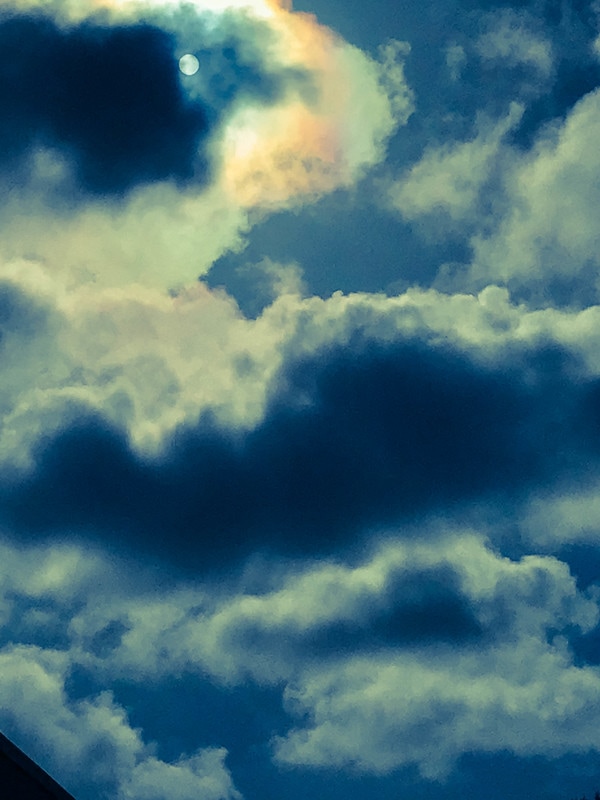
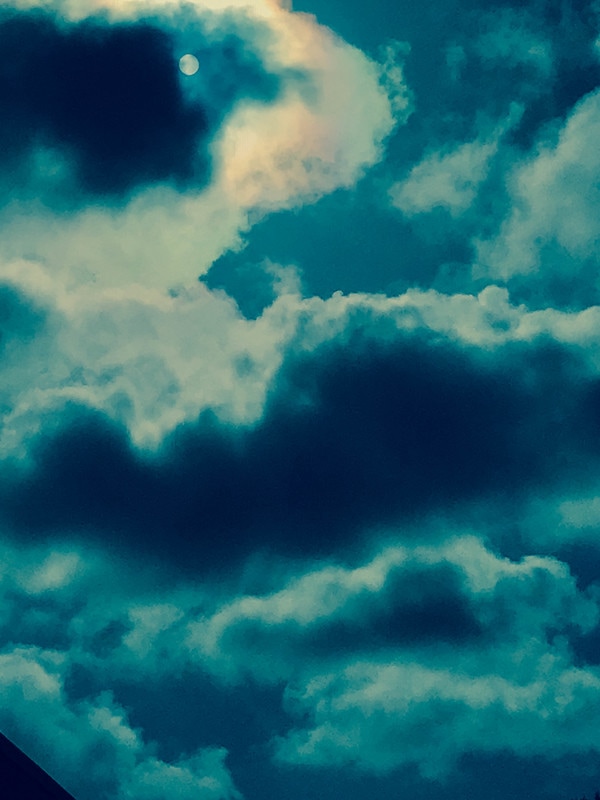
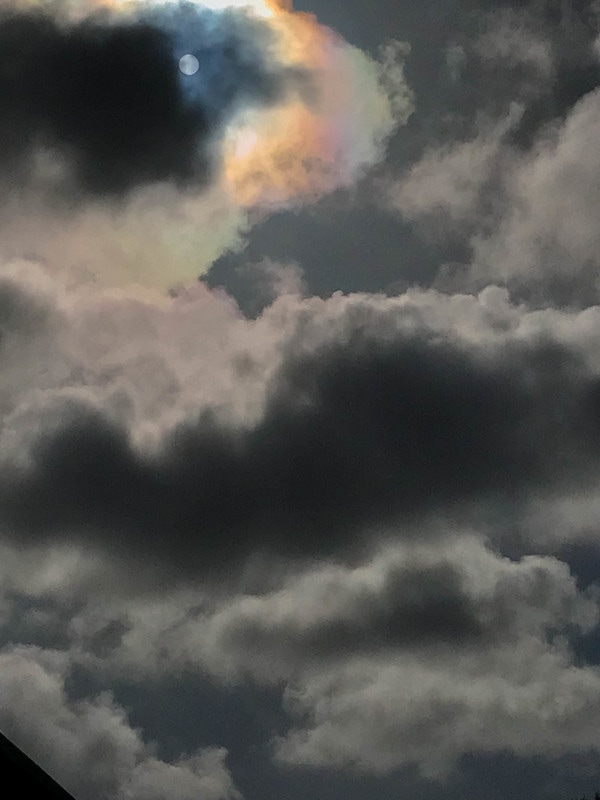
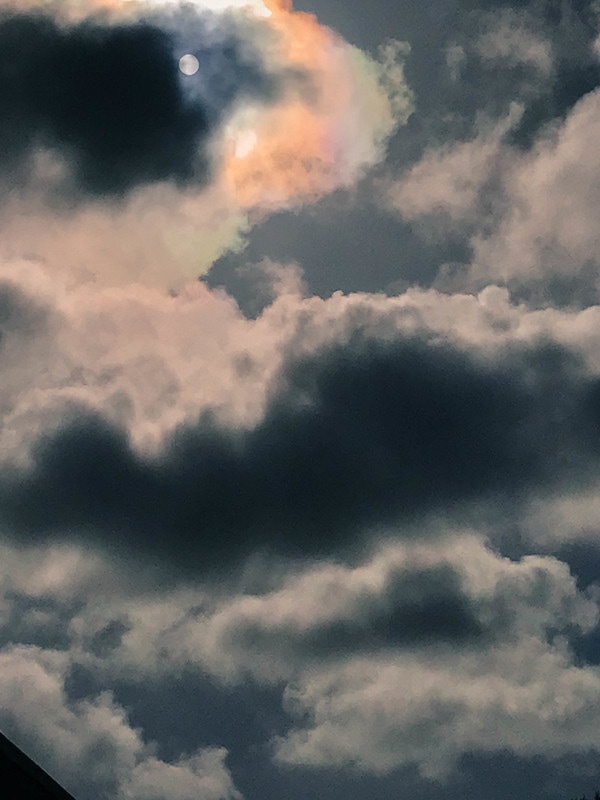
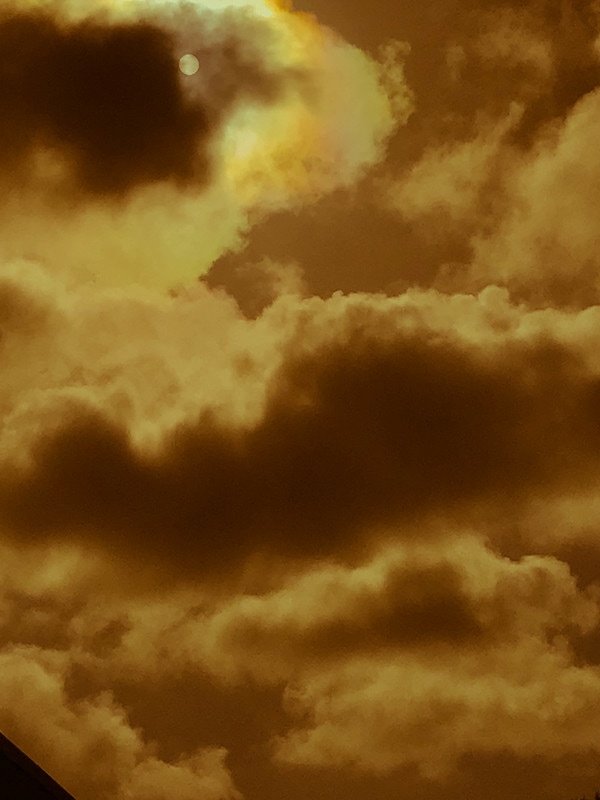
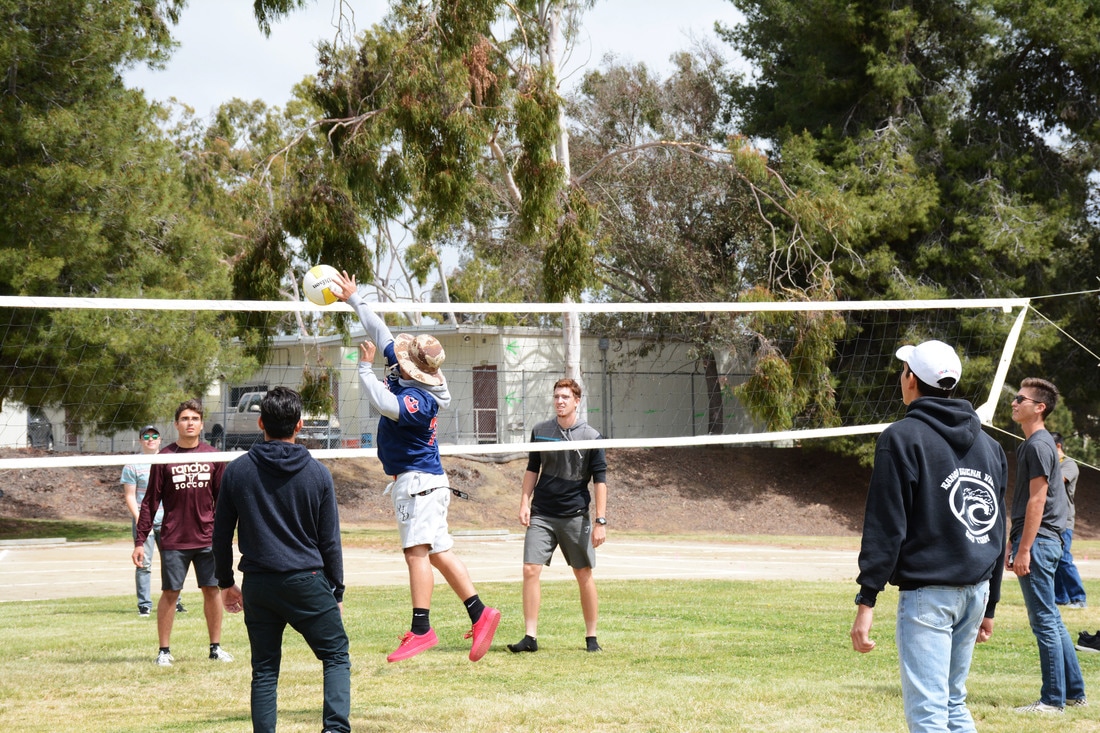
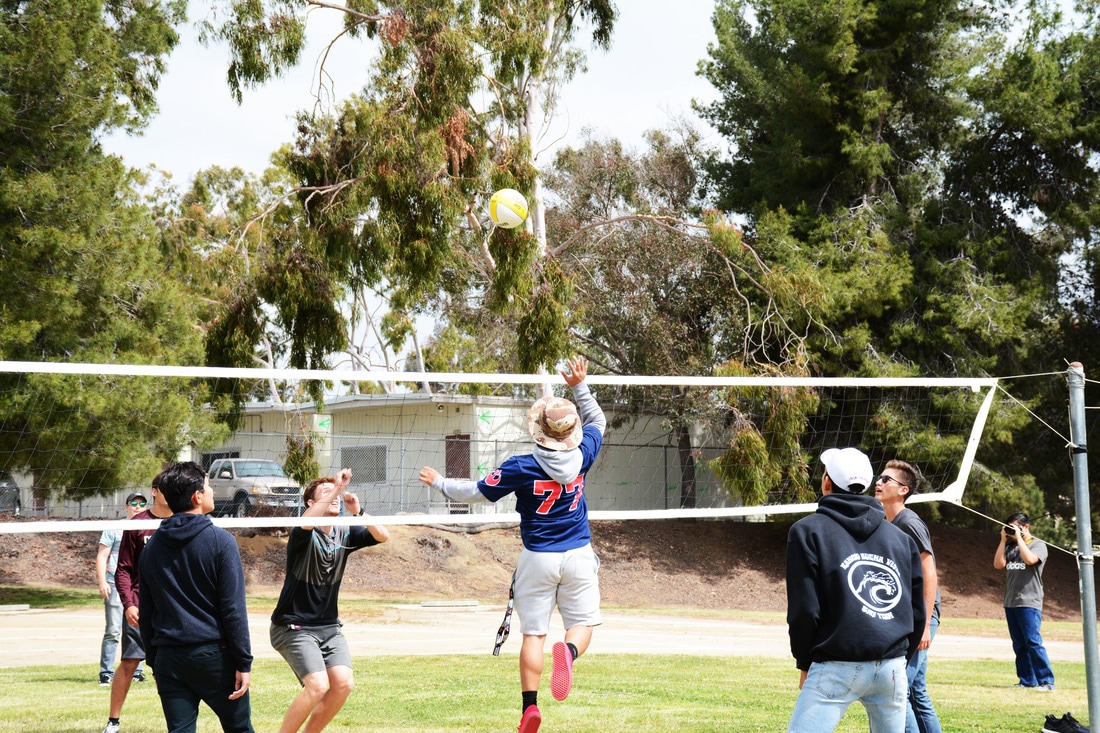
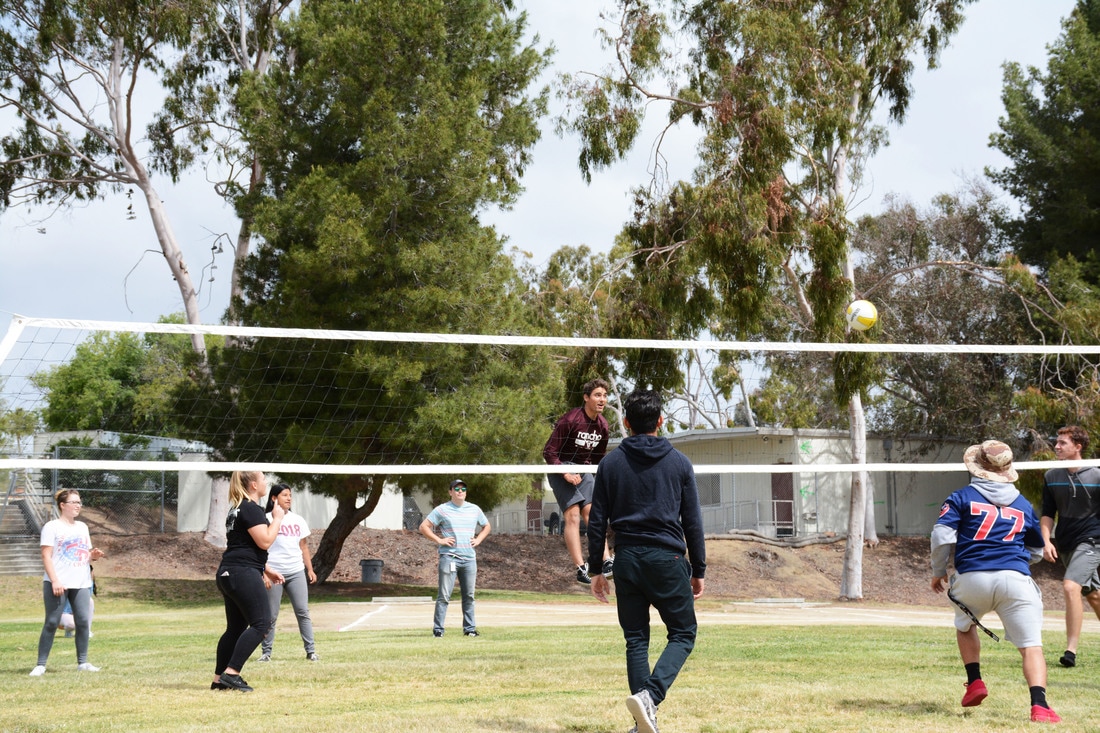
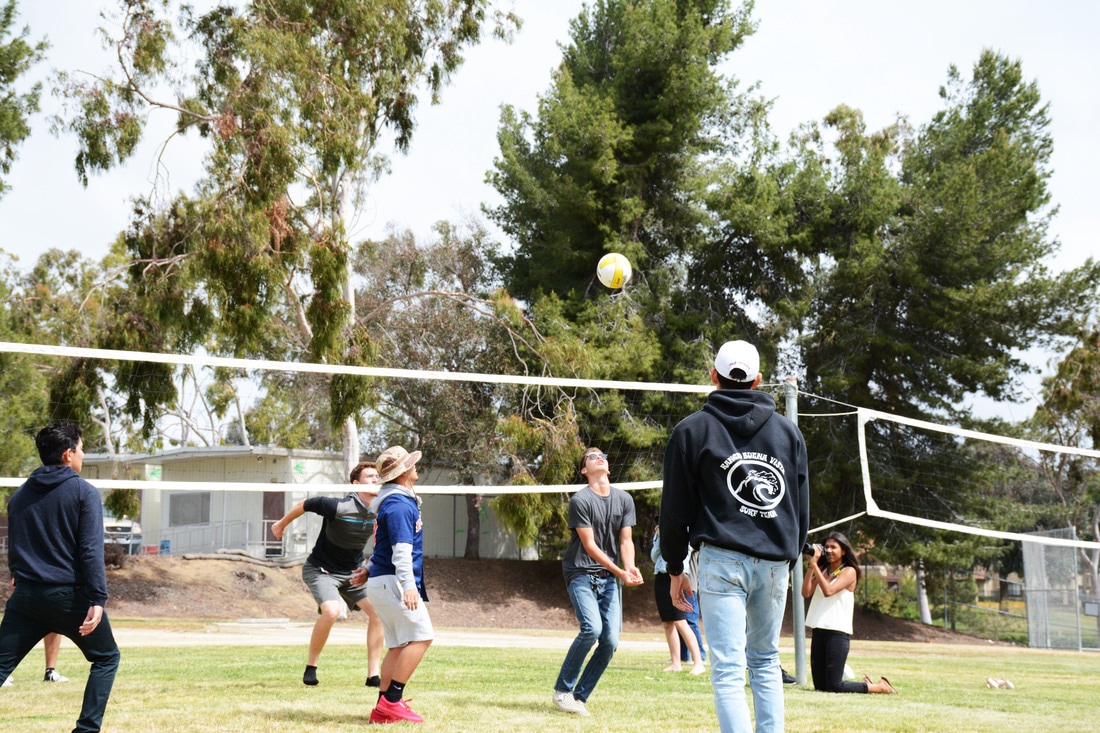
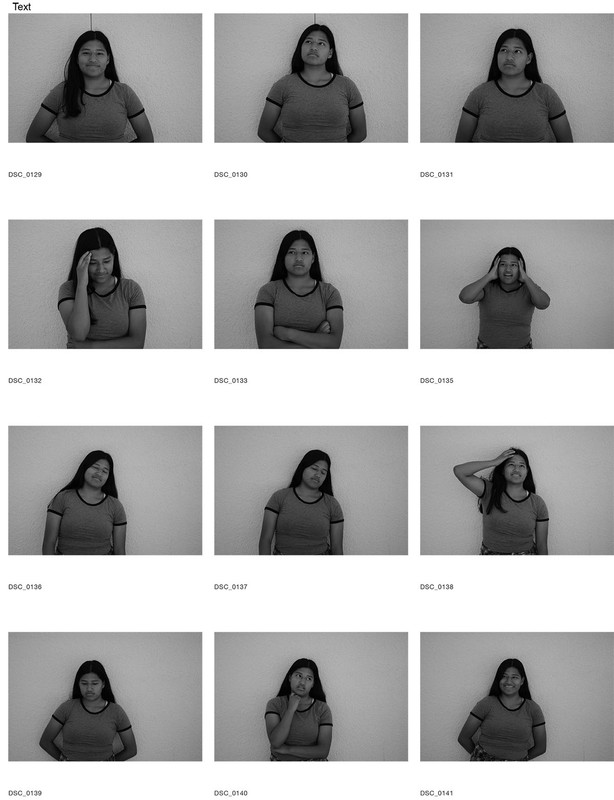
To create these two photos, first, I took twelve photos of a scene but one photo was a different spot so that when they came together it would create one big photo. Then, in photo shop I chose the pictures with the best quality and placed them in the spot I felt looked best. To put a photo in the back of another I went to layers-arrange-move to back and I purposely didn't make a full photo width the first photo. Lastly, I merged all the layers saved it as jpg and uploaded it here.
0 Comments
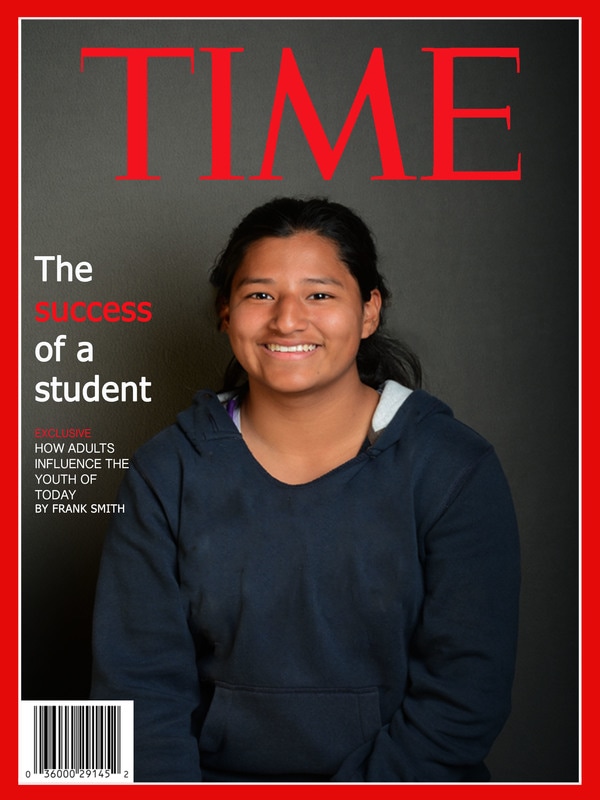 I chose to replicate Time magazine because I like how it's simple but with a deeper meaning. In order to make it look like an actual Time magazine I added a border of red then another of white and used the quick selection tool to get only the words of the title. I use Tahoma and Tamil Sangam MN fonts because they were the most similar to what the actual magazine uses and I used red and white because in some words they don't have the same color. To create this photo I had my model stand in front of a grey background and used the model light, as I took a photo the stone light would go off and give more lighting. I then chose the best photo for the magazine.
A strobe light is a very bright light that goes off for a second to give more lighting, it's used to add brightness to a persons photo. A modeling light is a light that stays on and gives off enough light for the camera to notice whats happening and is used to lessen the amount of darkness in a photo. A soft box is what goes over the model light and strobe light to control the lighting is surrounding the lights. A reflector reflects light and someone positions it so that it gets rid of the shadows and brightens a persons look. The other equipment used to take a proper photo of someone is a grey card and a radio trigger system. These are important because they help make sure the photo is not too bright or dark.A grey card has white, grey, and black on it and is used to see if adjustments need to be made after a photo is taken. A radio trigger system is what makes the strobe light flash with the camera, it is connected by a cord and when a photo is being taken it's detected and so the stone light goes off at the same time. For each of these photos the only thing that I did was use the antique and edge blur effects to make the photos look more old
 Carolina Alvarez Rubalcaba
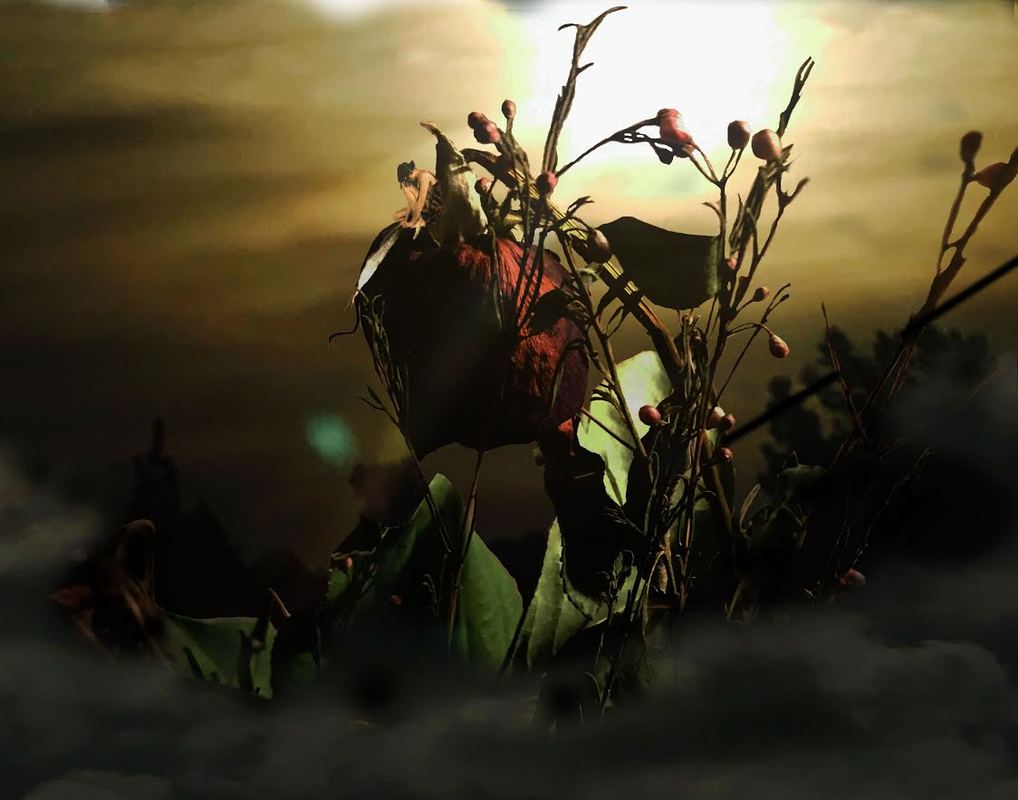
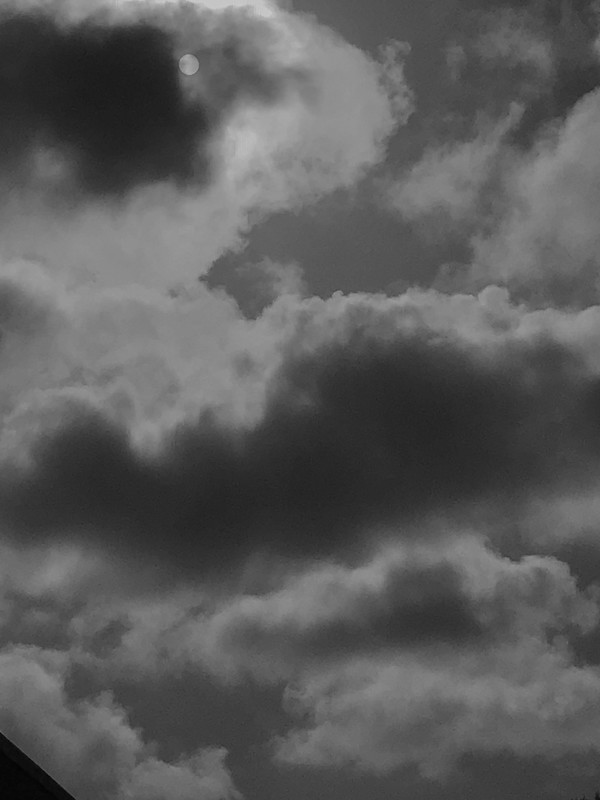
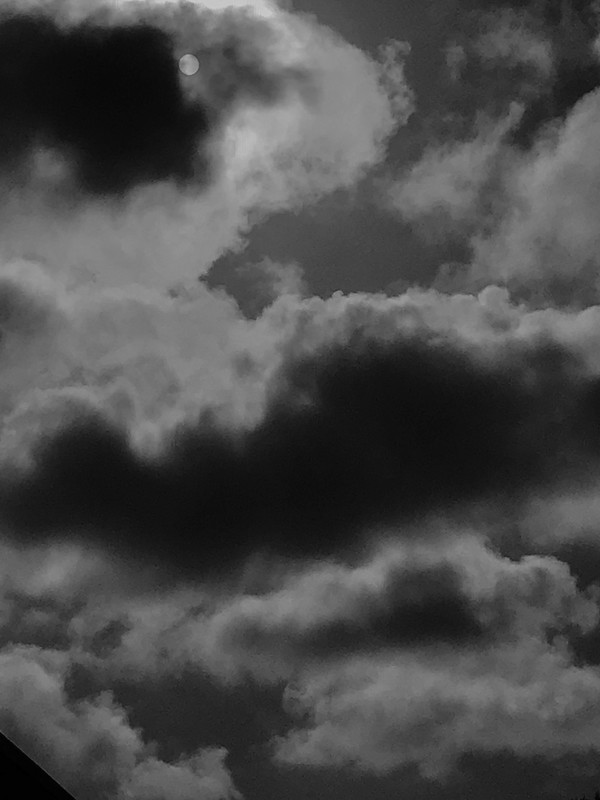
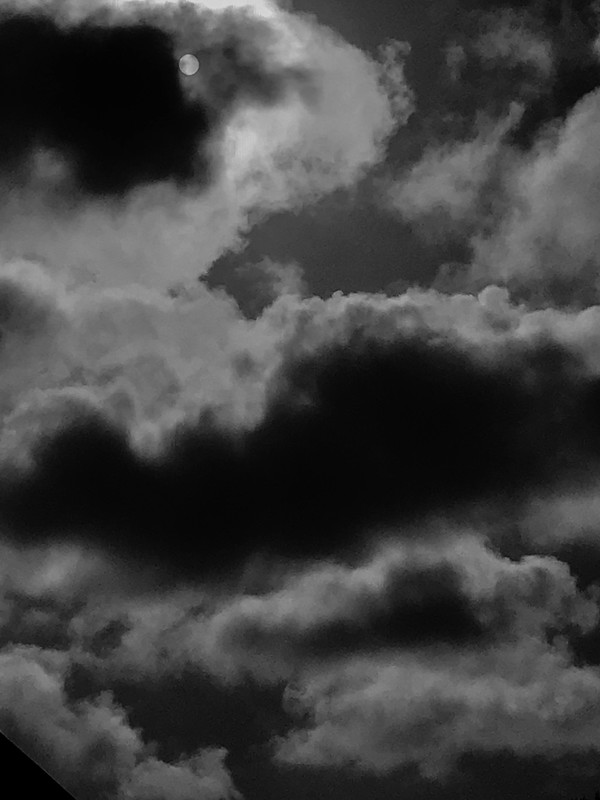
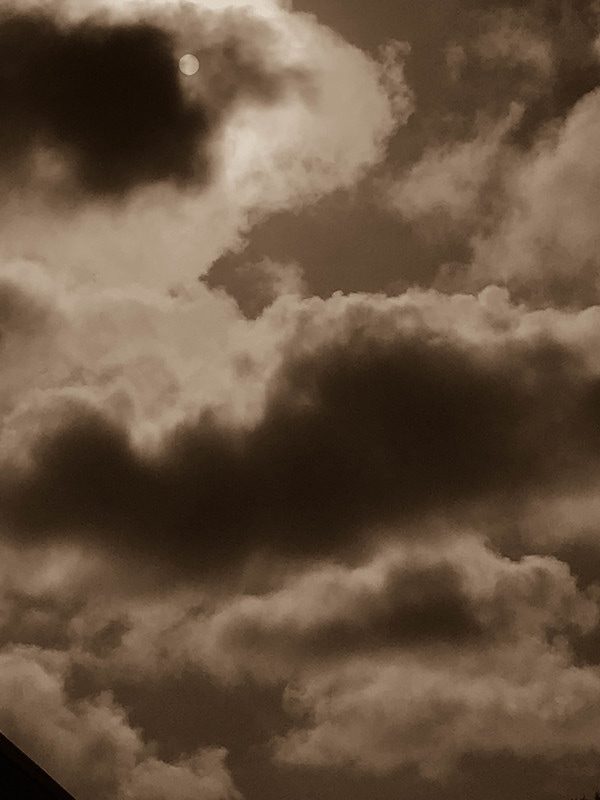
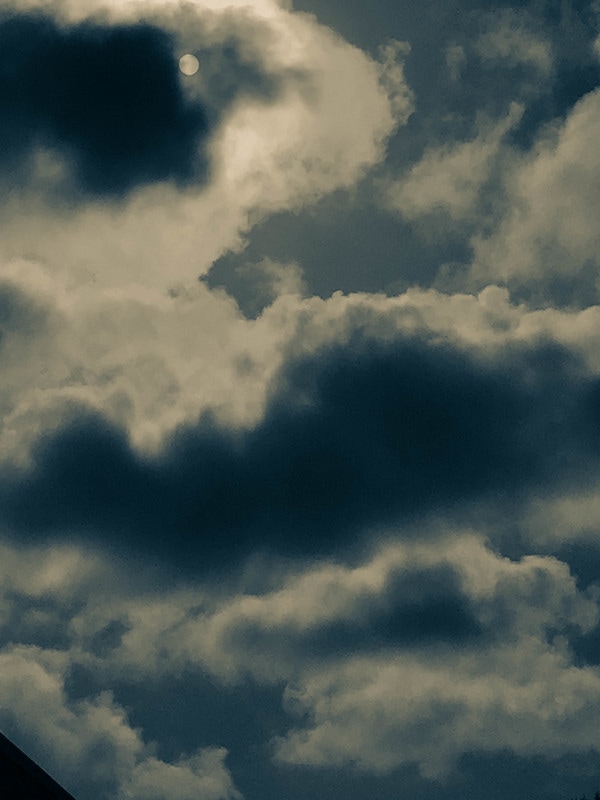
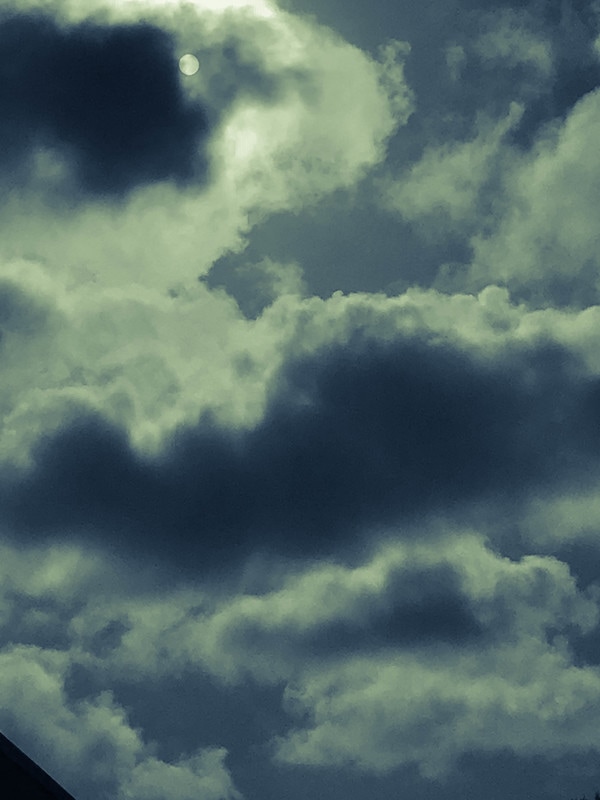
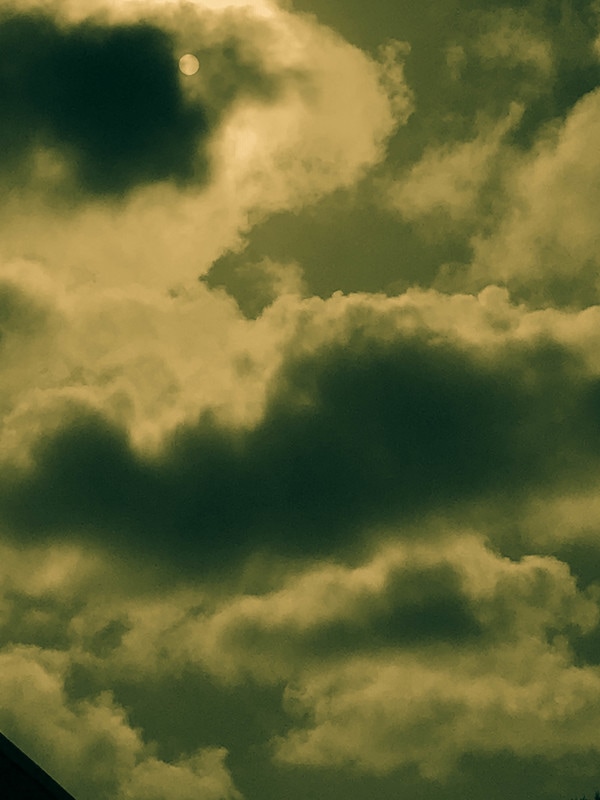
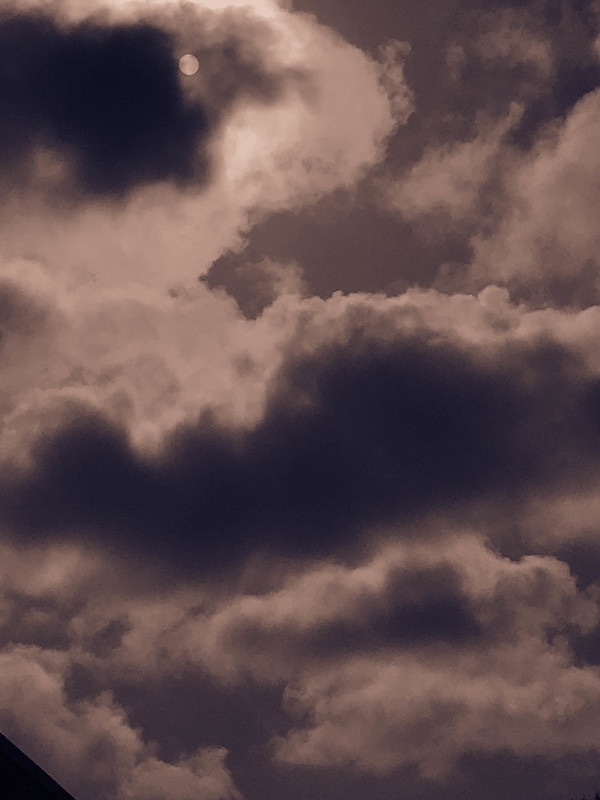
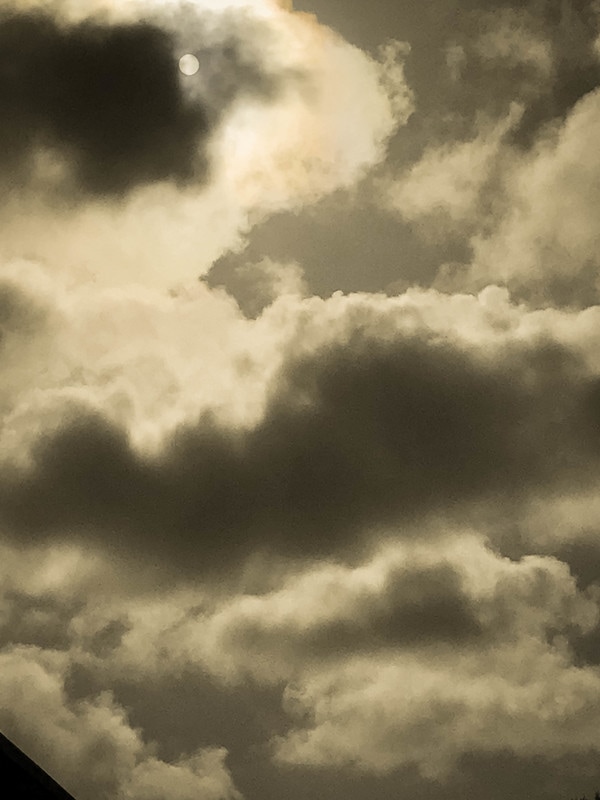
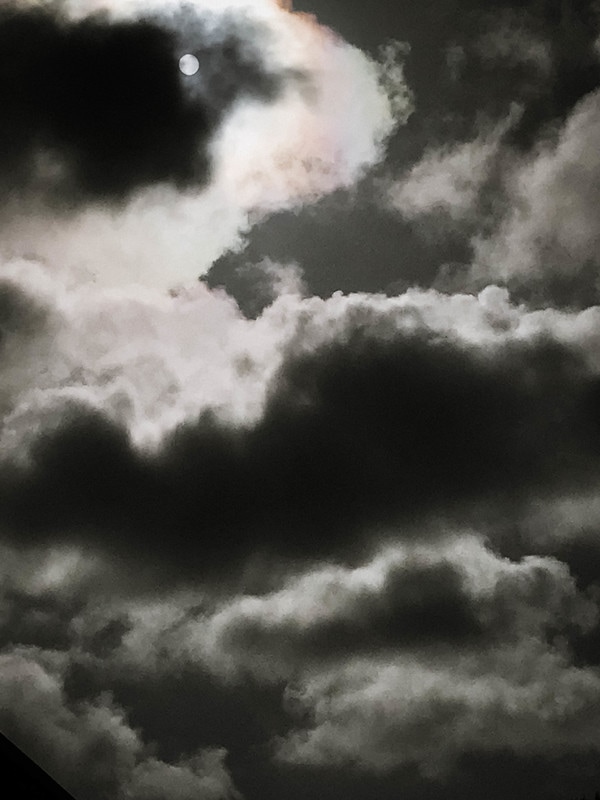
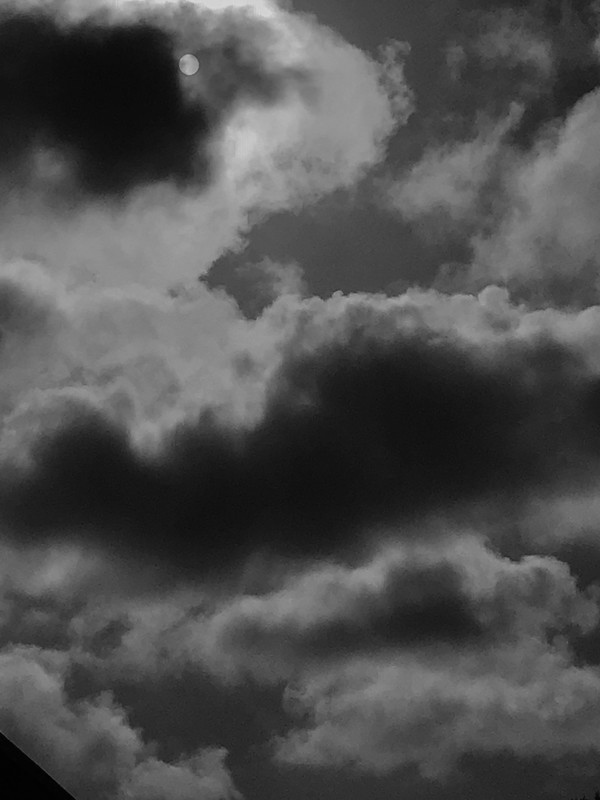
Rancho Buena Vista Mrs. Moncure 2 May 2017 Broken The photo of the dead flowers were taken in my room, the clouds and the sky were taken outside of my school, and I got the photo of the girl from the internet. The compositional rule is rule of thirds. My iPhone camera was used for all my photos. I used Adobe Photoshop, and in photoshop I used the layer mask then the brush tool to get rid of anything that I didn’t want on the background photo, then I adjusted the saturation of the girl so she’d have color instead of being in black and white & used the quick selection tool to cut out her body and put it on my photo, I also merged the layers and adjusted the brightness and contrast. My photo is in the digital painting & illustration division because it is not something that is usually seen and multiple tools were used in photoshop to create it. It is printed on Epson Glossy Photo Paper on the Epson P800 digital printer. Too
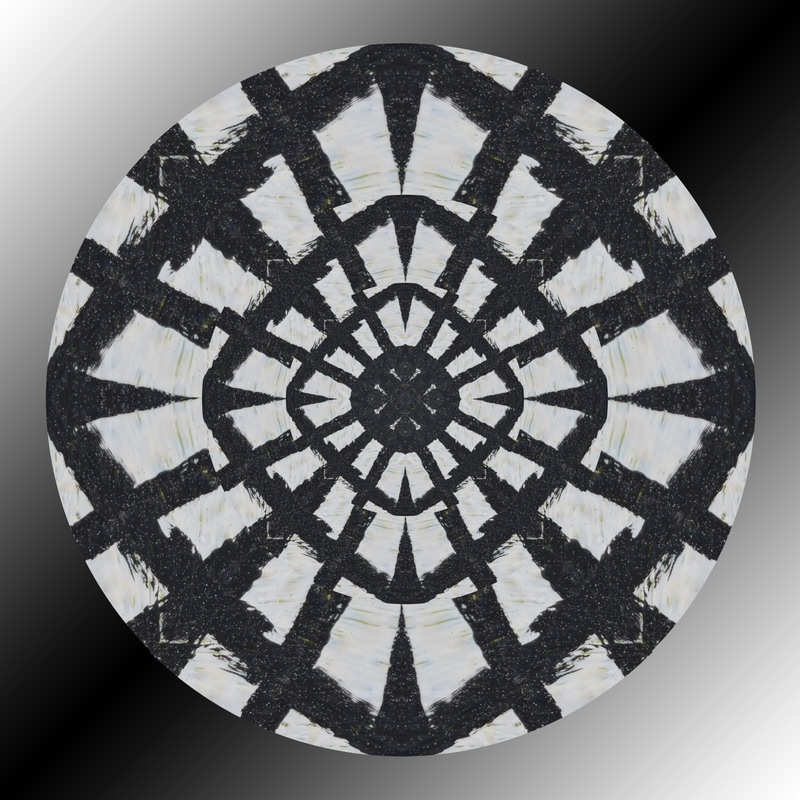
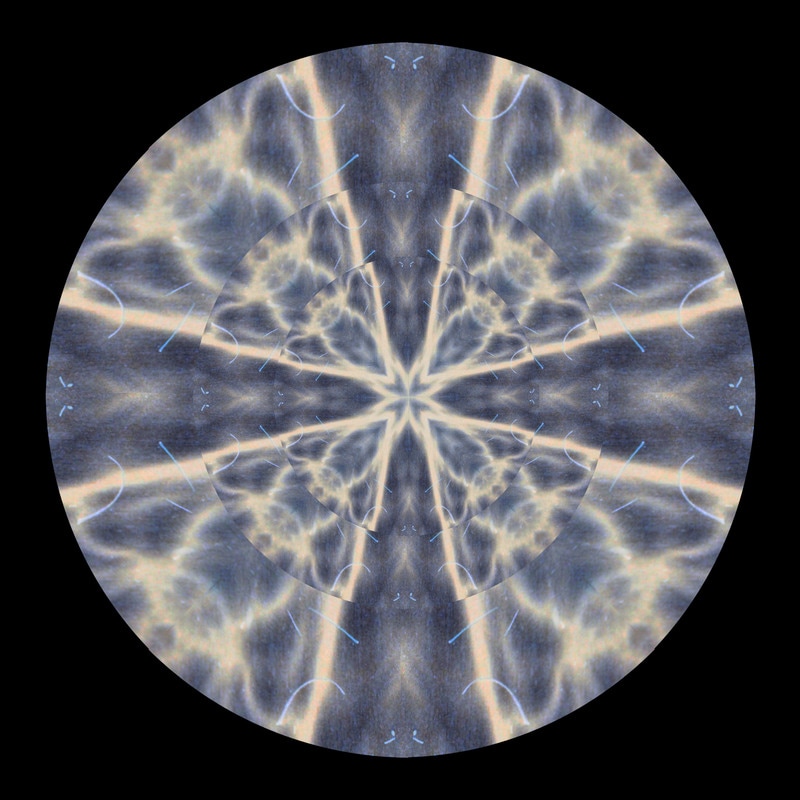
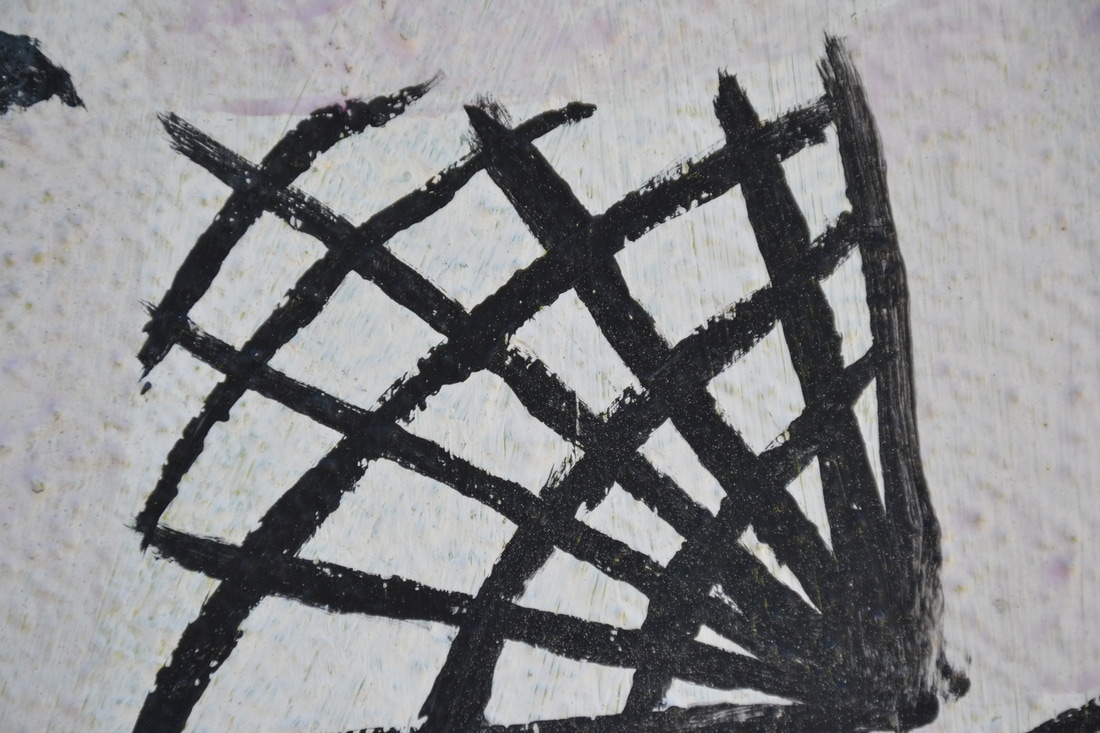
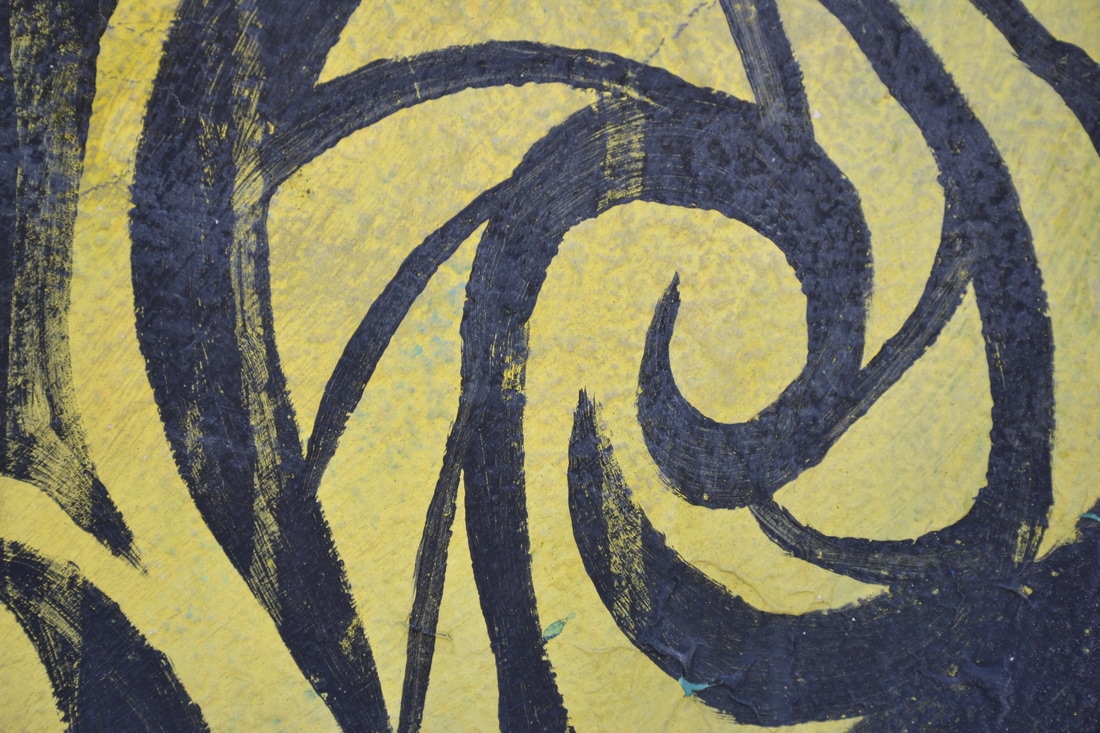
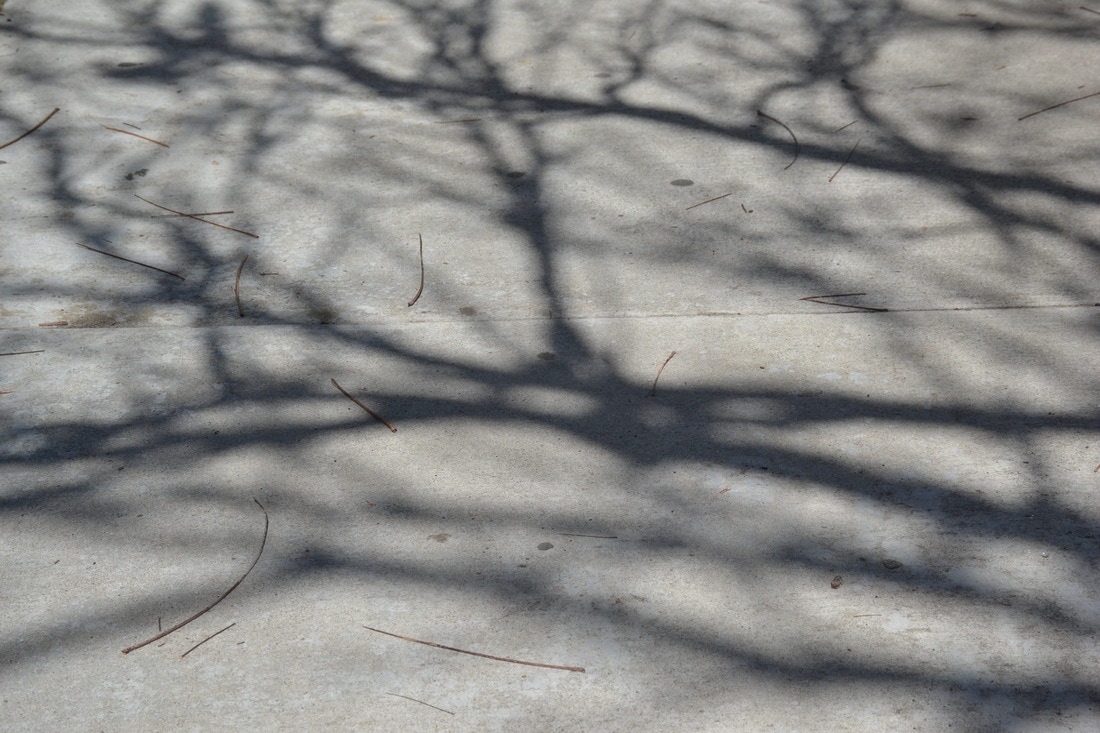
young for one's delusion the lifestyle cost Venereal Mother embrace the loss. That's how Look at you now You're broken Inherit your life. I wanted the photo to be dark and sad and as a way of representing that I used dark photos with a weeping girl with her on a dead flower to represent her broken state of mind. I used layer mask and the brush tool to erase the remains of the background of the flowers and the girl. I also adjusted the saturation and brightness so that the photos could really blend in with each other. The girl I got from the internet and added some color to her because she was black and white then I adjusted her size so she'd fit on the flower. Mandala means a combination of photos used to create a pattern but in the shape of a circle. To create these mandalas I opened up a document in photoshop that had a circle that was separated, then I opened one of my photos. I used the magic wand tool to select a section of the circle then dragged it to the image I opened and copied and pasted it to the circle. I then copied the layer and merged the layers together and repeated this process until the circle was full, some adjustments in the color and saturation were made and for the background I used a gradient overlay. I liked that this project was different from the last and the photos had to shifted in different ways to make something else. My favorite mandala is the one of the trees shadows. I mostly struggled with putting them together because there would always be a space and i'd have to go back and fix it. If I were to do this again I would think more carefully about the photos I was taking so they'd come out better.
|
AuthorArchivesCategories |


 RSS Feed
